Learn to Cook from Scratch: Five skills to learn in the kitchen
We’ve all heard it - homemade food is better for us. Period. Now, there are plenty of articles out there to tell you just that, but today I want to give you the tools you need to actually do it. Most of these are skills. A few are simple changes in your kitchen that will give you a leg up in the “real ingredient” world. Don’t feel like you have to do this all at once. It’s better to go slow and sustain what you have accomplished rather than quickly doing it all and having only one or two skills stick.
Mise en place.
Despite the struggle to pronounce this French phrase, the concept is simple. Mis en place basically means “everything in its place.” Easy concept, hard follow-through. At least for me anyway. I like to jump in the kitchen and start something right way. Nevertheless, it’s better to take a few minutes of preparation at the beginning before turning on the oven or heating up the stove. Making this a habit truly is a skill. This is especially important for the person just learning to cook and adjusting to an “ingredient kitchen.” It can feel overwhelming to change to ingredients instead of pre-made foods. Organizing yourself before cooking and trying new recipes can make a big difference.

So how do you do “mis en place”? First, gather the ingredients needed for your recipe and arrange them in a central location. Grab what you need from the pantry, pull out food from the fridge and freezer. Hint - this is also advantageous because you will find out before you start cooking if you actually have everything you need for a recipe. It can be frustrating when you open the cabinet halfway through a recipe only to find you are completely out of an ingredient. Not that this has ever happened to me…
You may already have some built in “mis en place” spaces in your kitchen. Many people keep their spices, salt, cooking oils, and vinegars in cabinets near their stove. Another area may be a dedicated baking station of sorts with flour, sugar, vanilla, and other baking ingredients. I like to keep related ingredients in baskets or tubs so that whenever I’m ready to start cooking, I can grab the basket and go. Find a system that works for you!
Next, prep any ingredients accordingly. Chop the onion, grate the cheese, melt the butter, etc. Then set them within reach of your cooking area.
Finally, move forward to the actually making the recipe.
It really is that simple. Although it can be tempting to overlook it, the few minutes of prep work will save you time (and possibly a headache) later in the recipe. Learning it at the beginning of your “ingredient household” journey will make it feel less overwhelming.
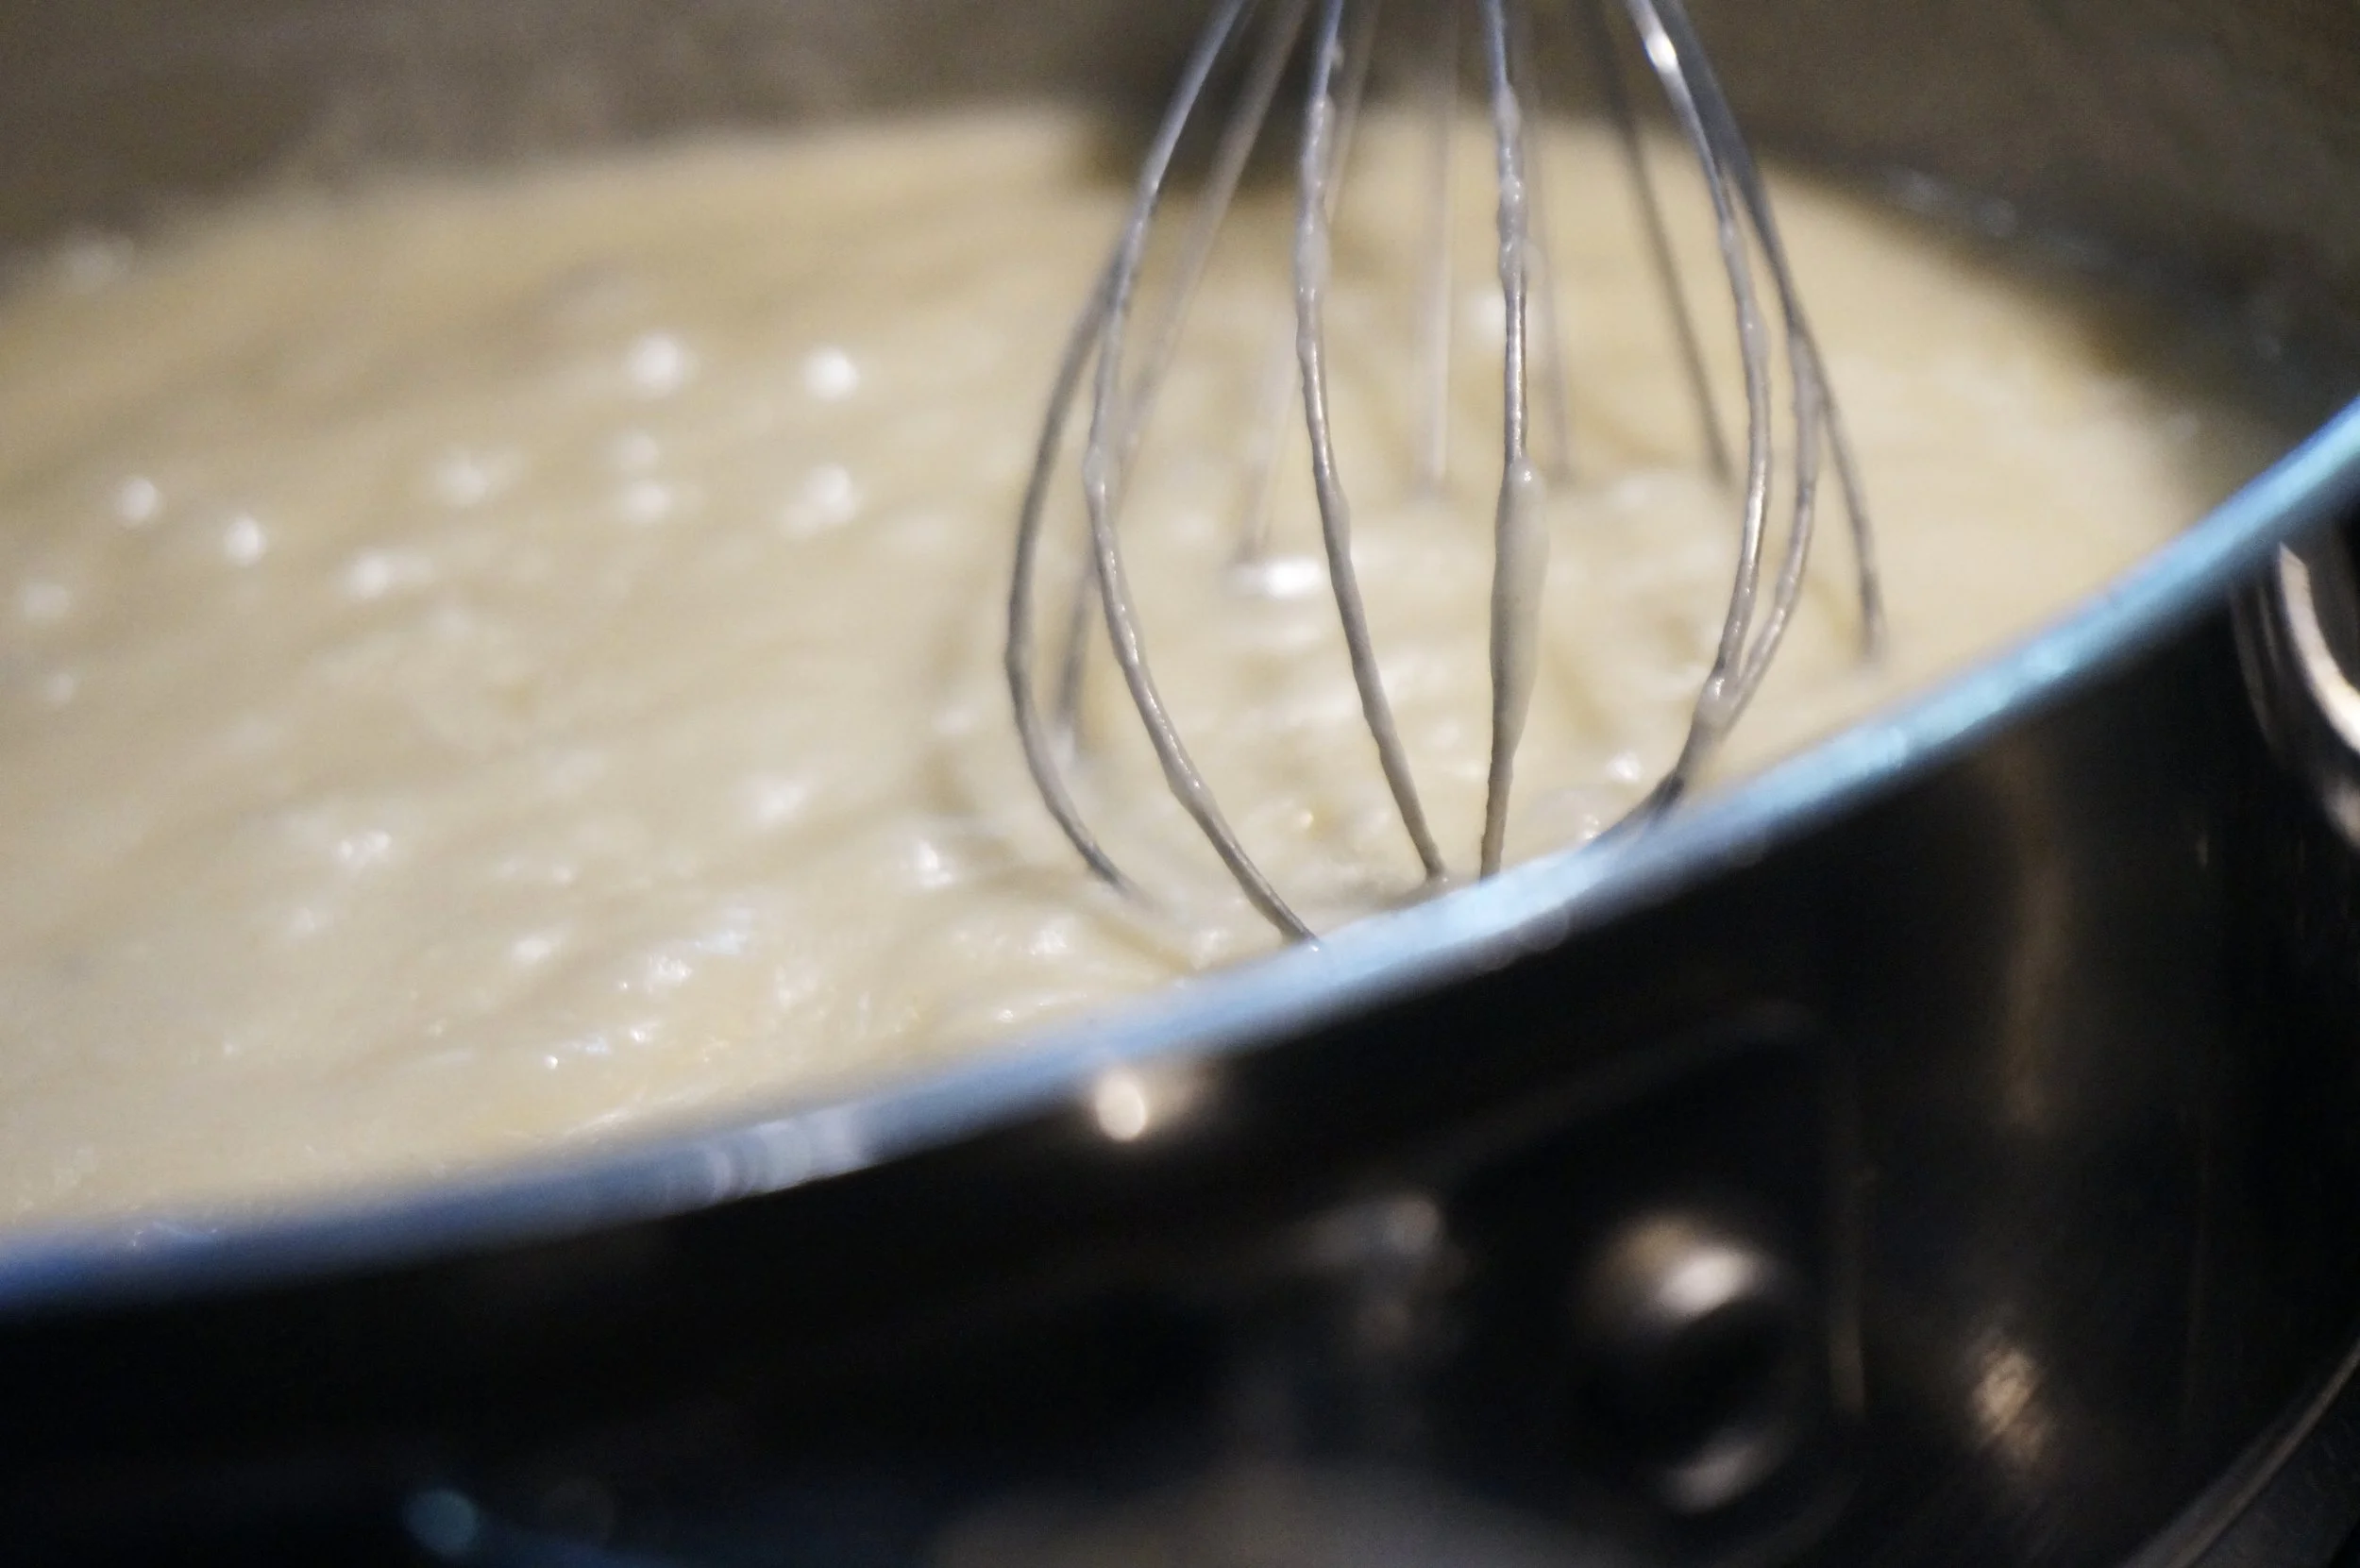
Learn to make a roux.
A what? I promise I did not set out write this article as a French lesson, but it appears to be a theme. A roux (pronounced “roo”) is the combination of flour and melted fat used for making a sauce. Think gravy made from scratch, homemade cheese sauce, and condensed soup. You can make all of these starting with a roux.
How to make a roux:
Homemade condensed soup
Heat a skillet to medium low heat.
Melt the fat (typically butter).
Add an equal amount of flour to the butter and whisk. Cook for two minutes.
Add in salt, spices, and seasonings.
Slowly whisk in liquid (broth, milk, stock, etc.).
Cook until it has reach desired thickness.
Remove from heat.
Keep in mind, the instructions for a specific recipe may be different than what I just described. These are just general instructions to get you started.
Looking for ways to use your newfound skill? Try making this “cream of whatever” condensed soup recipe next time you go to make that favorite casserole of yours. Or make this from scratch macaroni and cheese.
Make broth at home.
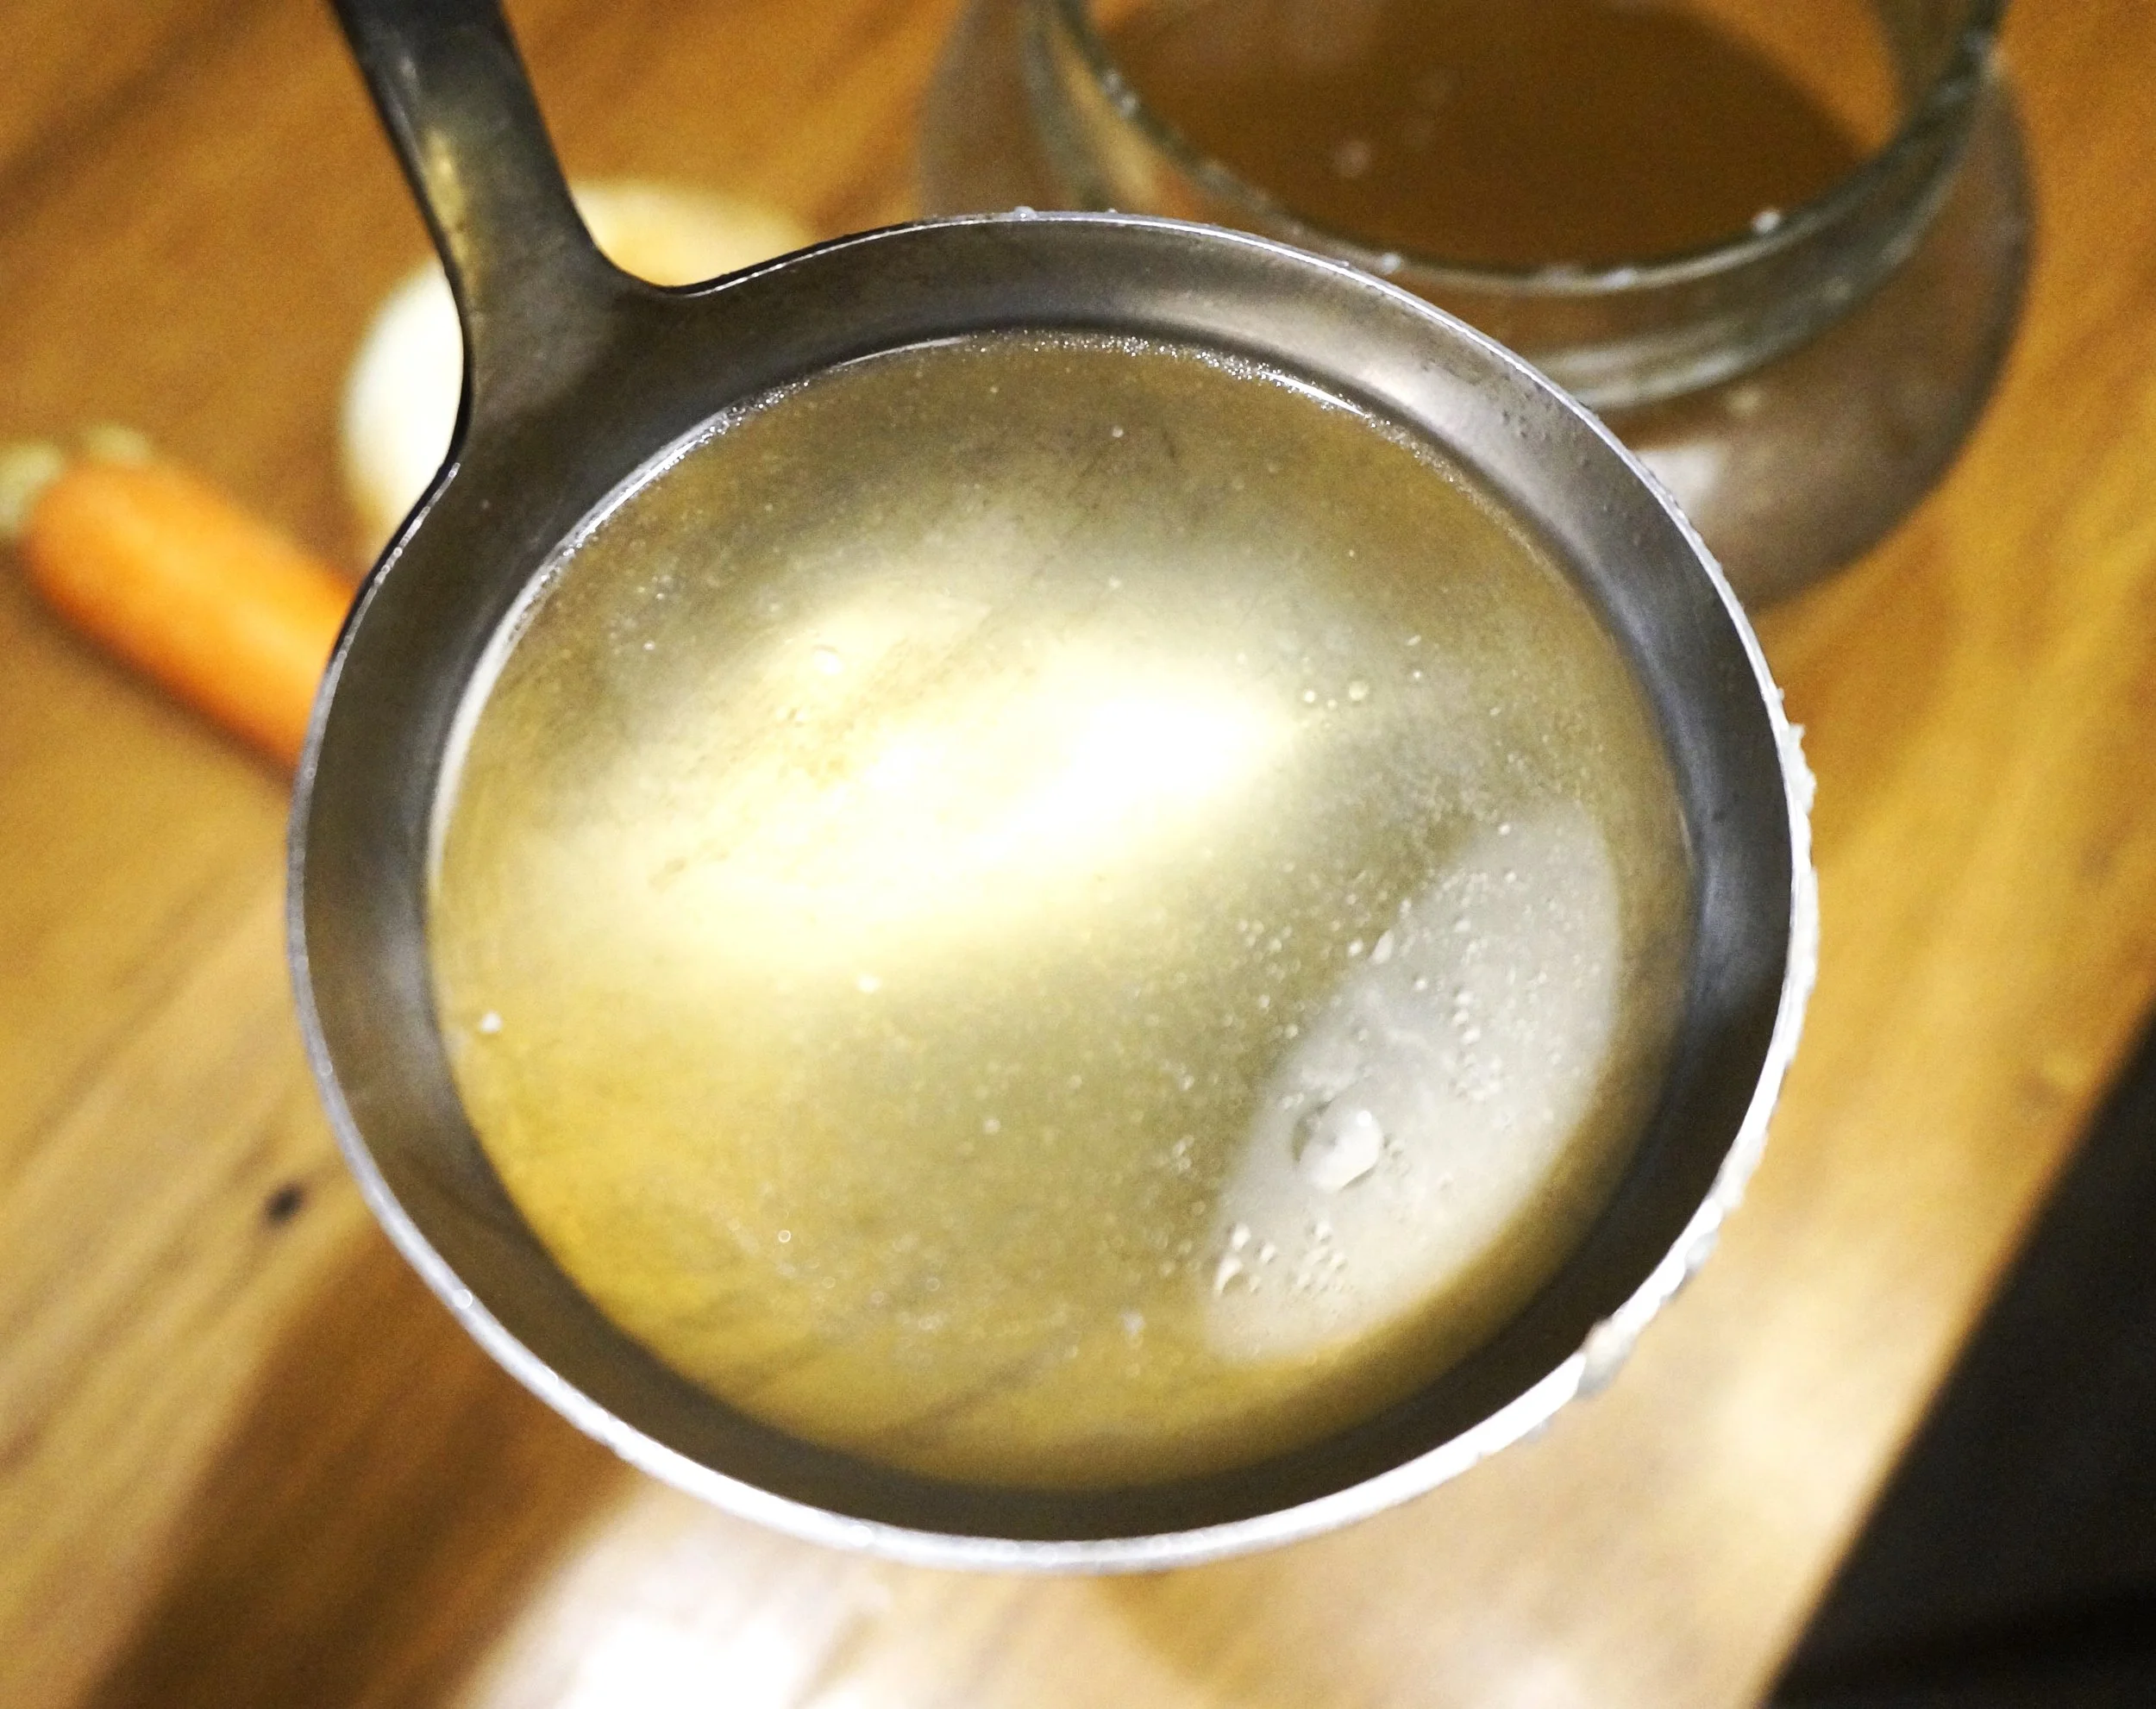
Homemade broth
Have you ever looked at the label for those Boullion cubes? The first ingredients listed include things like salt, sugar, corn starch, and monosodium glutamate. Beef or chicken product is several items down the list. One package I looked at even had the chicken in the “less than 2%” category. What?! No offense to the powdered broth at the store, but I just have to believe homemade is better for you. And it’s just so easy! And cheap!
Any time you make a roast, toss the bone back in the slow cooker or instant pot and cook away. You can add salt, herbs, and veggies if you like or keep it minimal. Another great thing about broth is that it can slow cook for a long time. If something comes up and you can’t get to it right away, no big deal. Just let it keep on cooking! And don’t worry if it makes too much for you to use at once. Broth freezes well and I especially like to freeze it in a silicone muffin mold. The mold makes a great size to just pop out of the freezer when I need to add some to a recipe.
You can find all kinds of recipes online for homemade broth, either on the stove top or in a slow cooker or Instant Pot. For my method, check out this recipe.
Learn to make jelly or jam.
I know it can seem intimidating, but here’s the deal. You don’t have to can the jam - you can freeze it instead. Essentially all you need to do is prepare your fruit (mash it or juice it), boil it, and add sugar and/or pectin depending on the recipe. Obviously, a true recipe will give you a much better set of instructions.
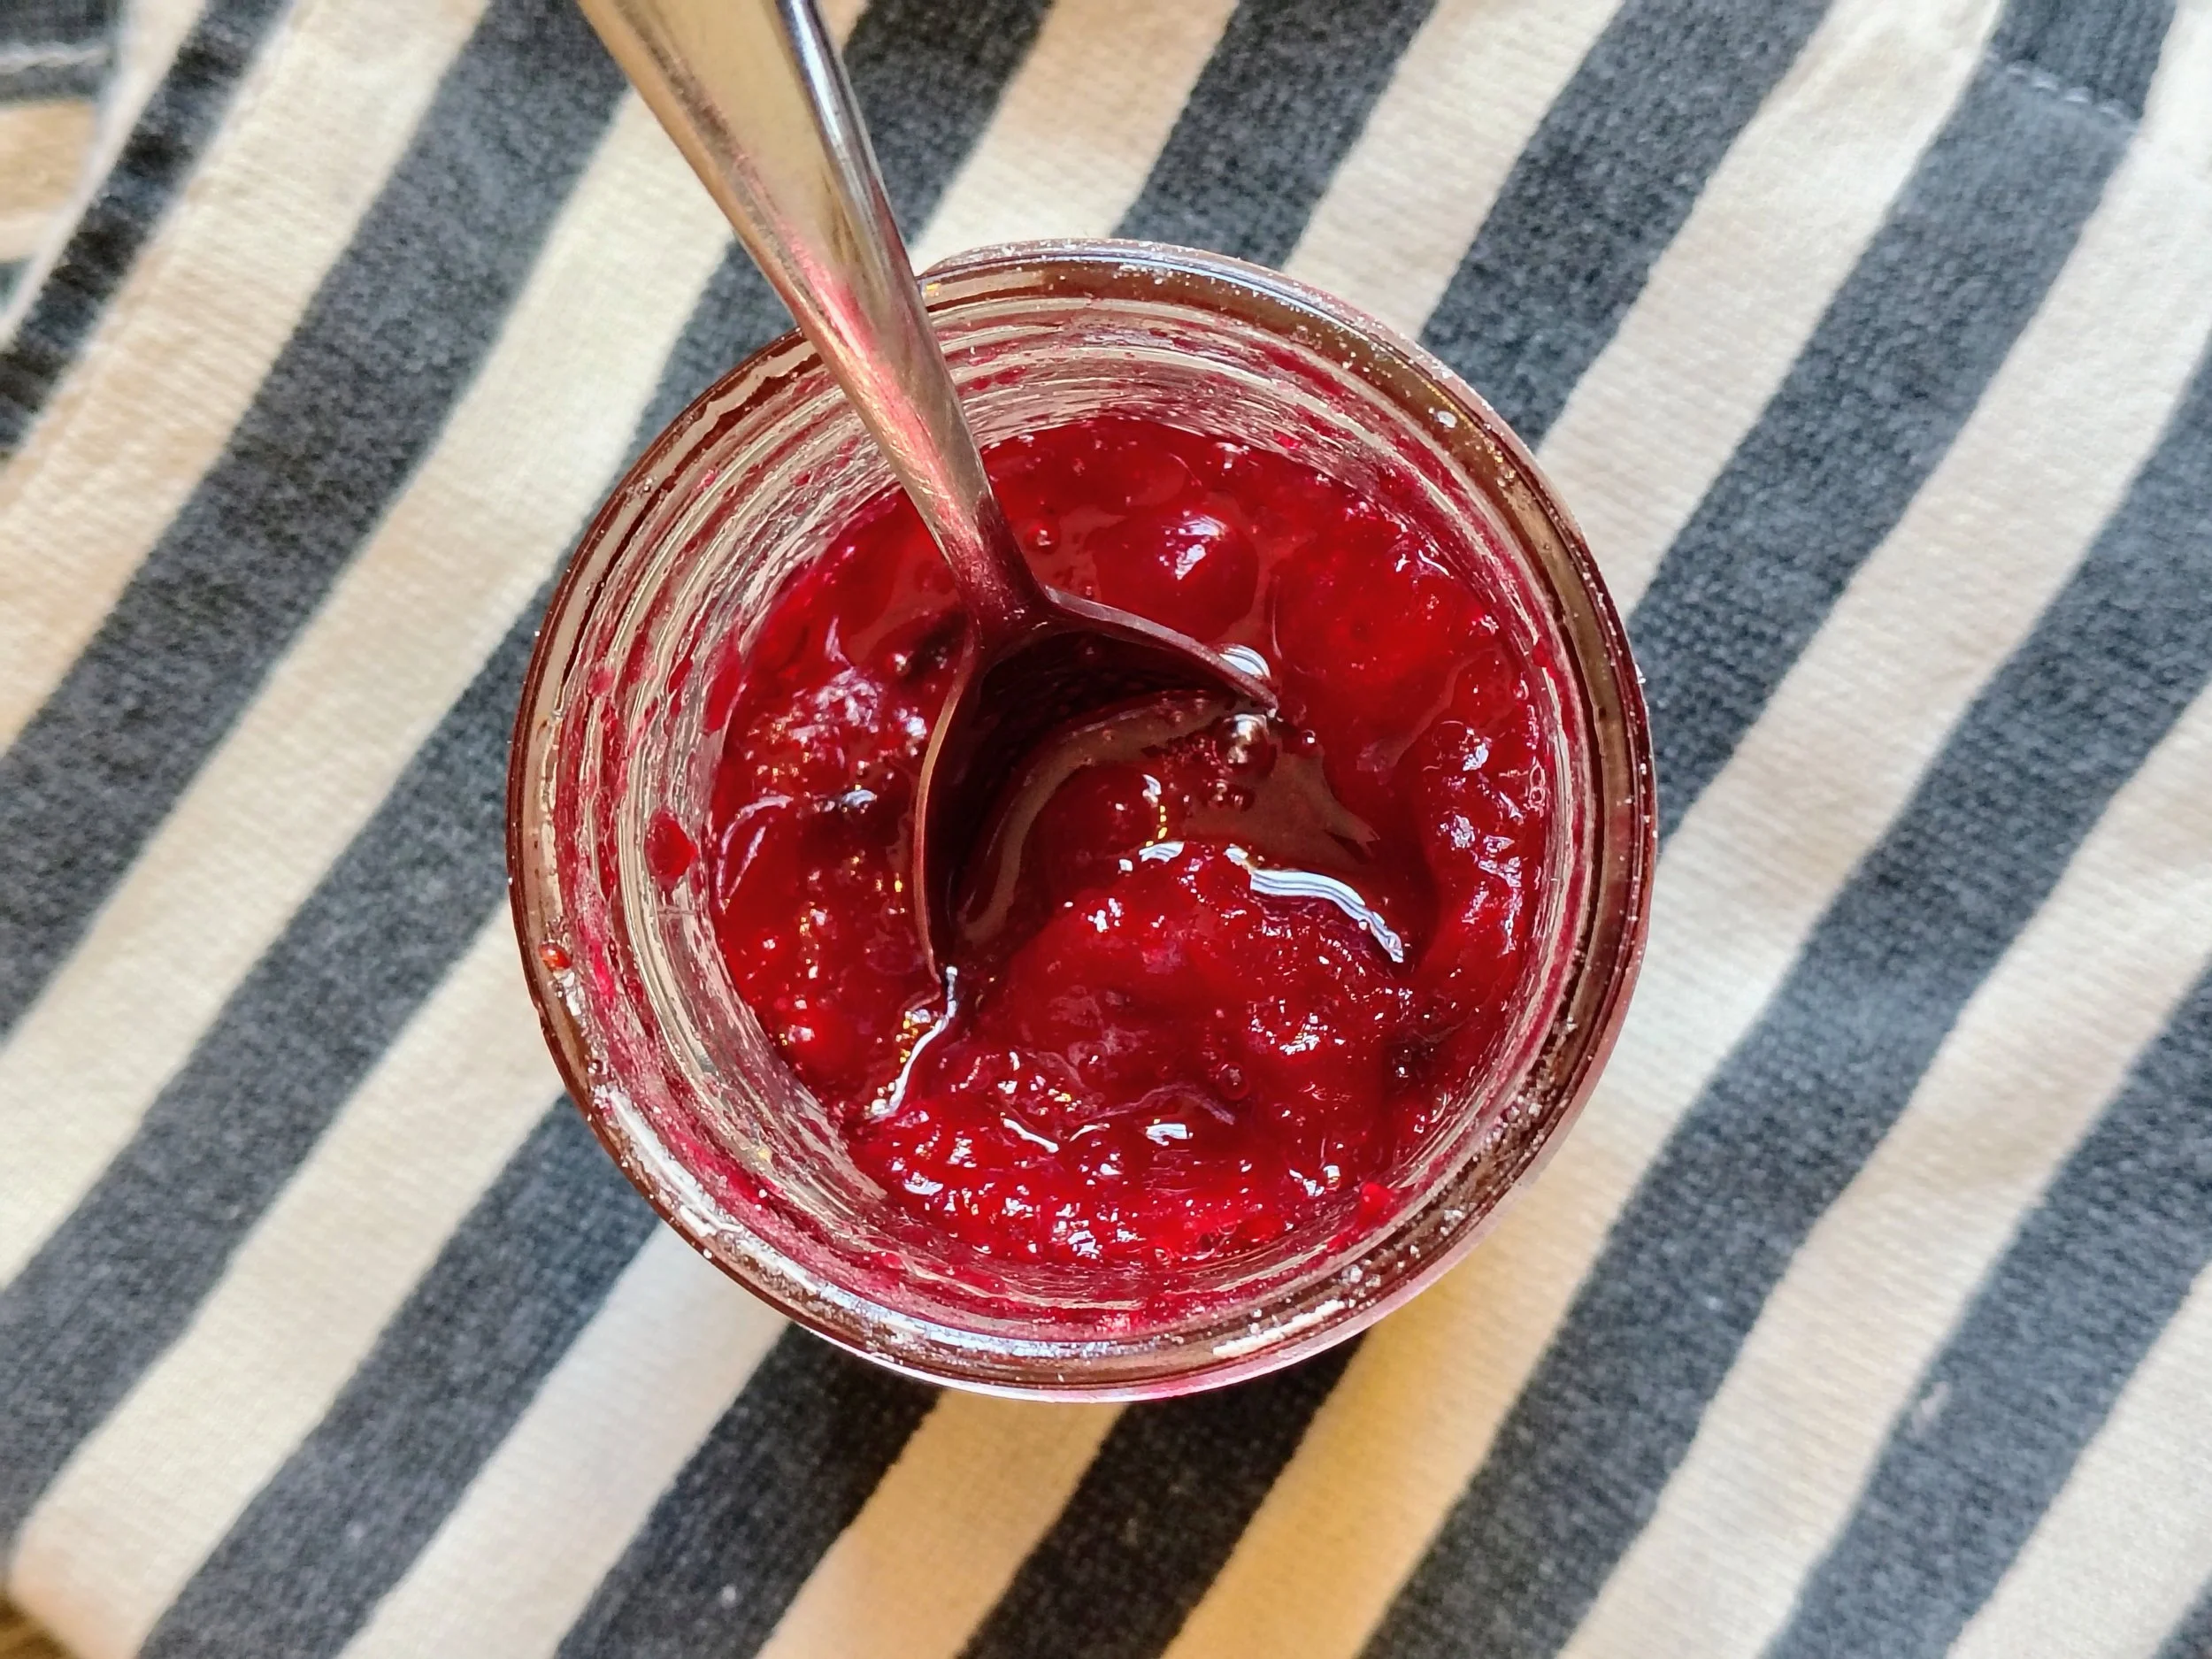
Homemade freezer cranberry jelly.
One huge advantage of making your own jam is the ability to control the sugar content. Now, you will soon learn that sugar is needed to help a jelly or jam gel in some recipes. However, there is another type of pectin that I like to use - Pomona’s Pectin. It allows you to adjust the sugar without affecting the gelling. Alternatively, Pomona’s Pectin uses calcium to help your jelly or jam gel independently of sugar content. The calcium powder is included in the package along with the pectin. It’s super easy to use, turns out wonderful, and I’m always so happy to decrease sugar content when I can. I have yet to see it in stores, so I’ve always ordered it online.
Replace pre-made doughs with homemade ones.
You know what I’m talking about. The cans of biscuits. Refrigerated pie crusts. You can make them at home and I have a few shortcuts that can help.
The process to make all of these doughs is relatively the same. You “cut in” butter into the flour mixture. You can do this with a pastry blender, but quite frankly I have never been very good at using it effectively. I’m not patient enough to get the mixture to resemble quote “pea-sized crumbs” or “coarse cornmeal.” Instead, I like to use my food processor…
Basic steps for making pastry doughs
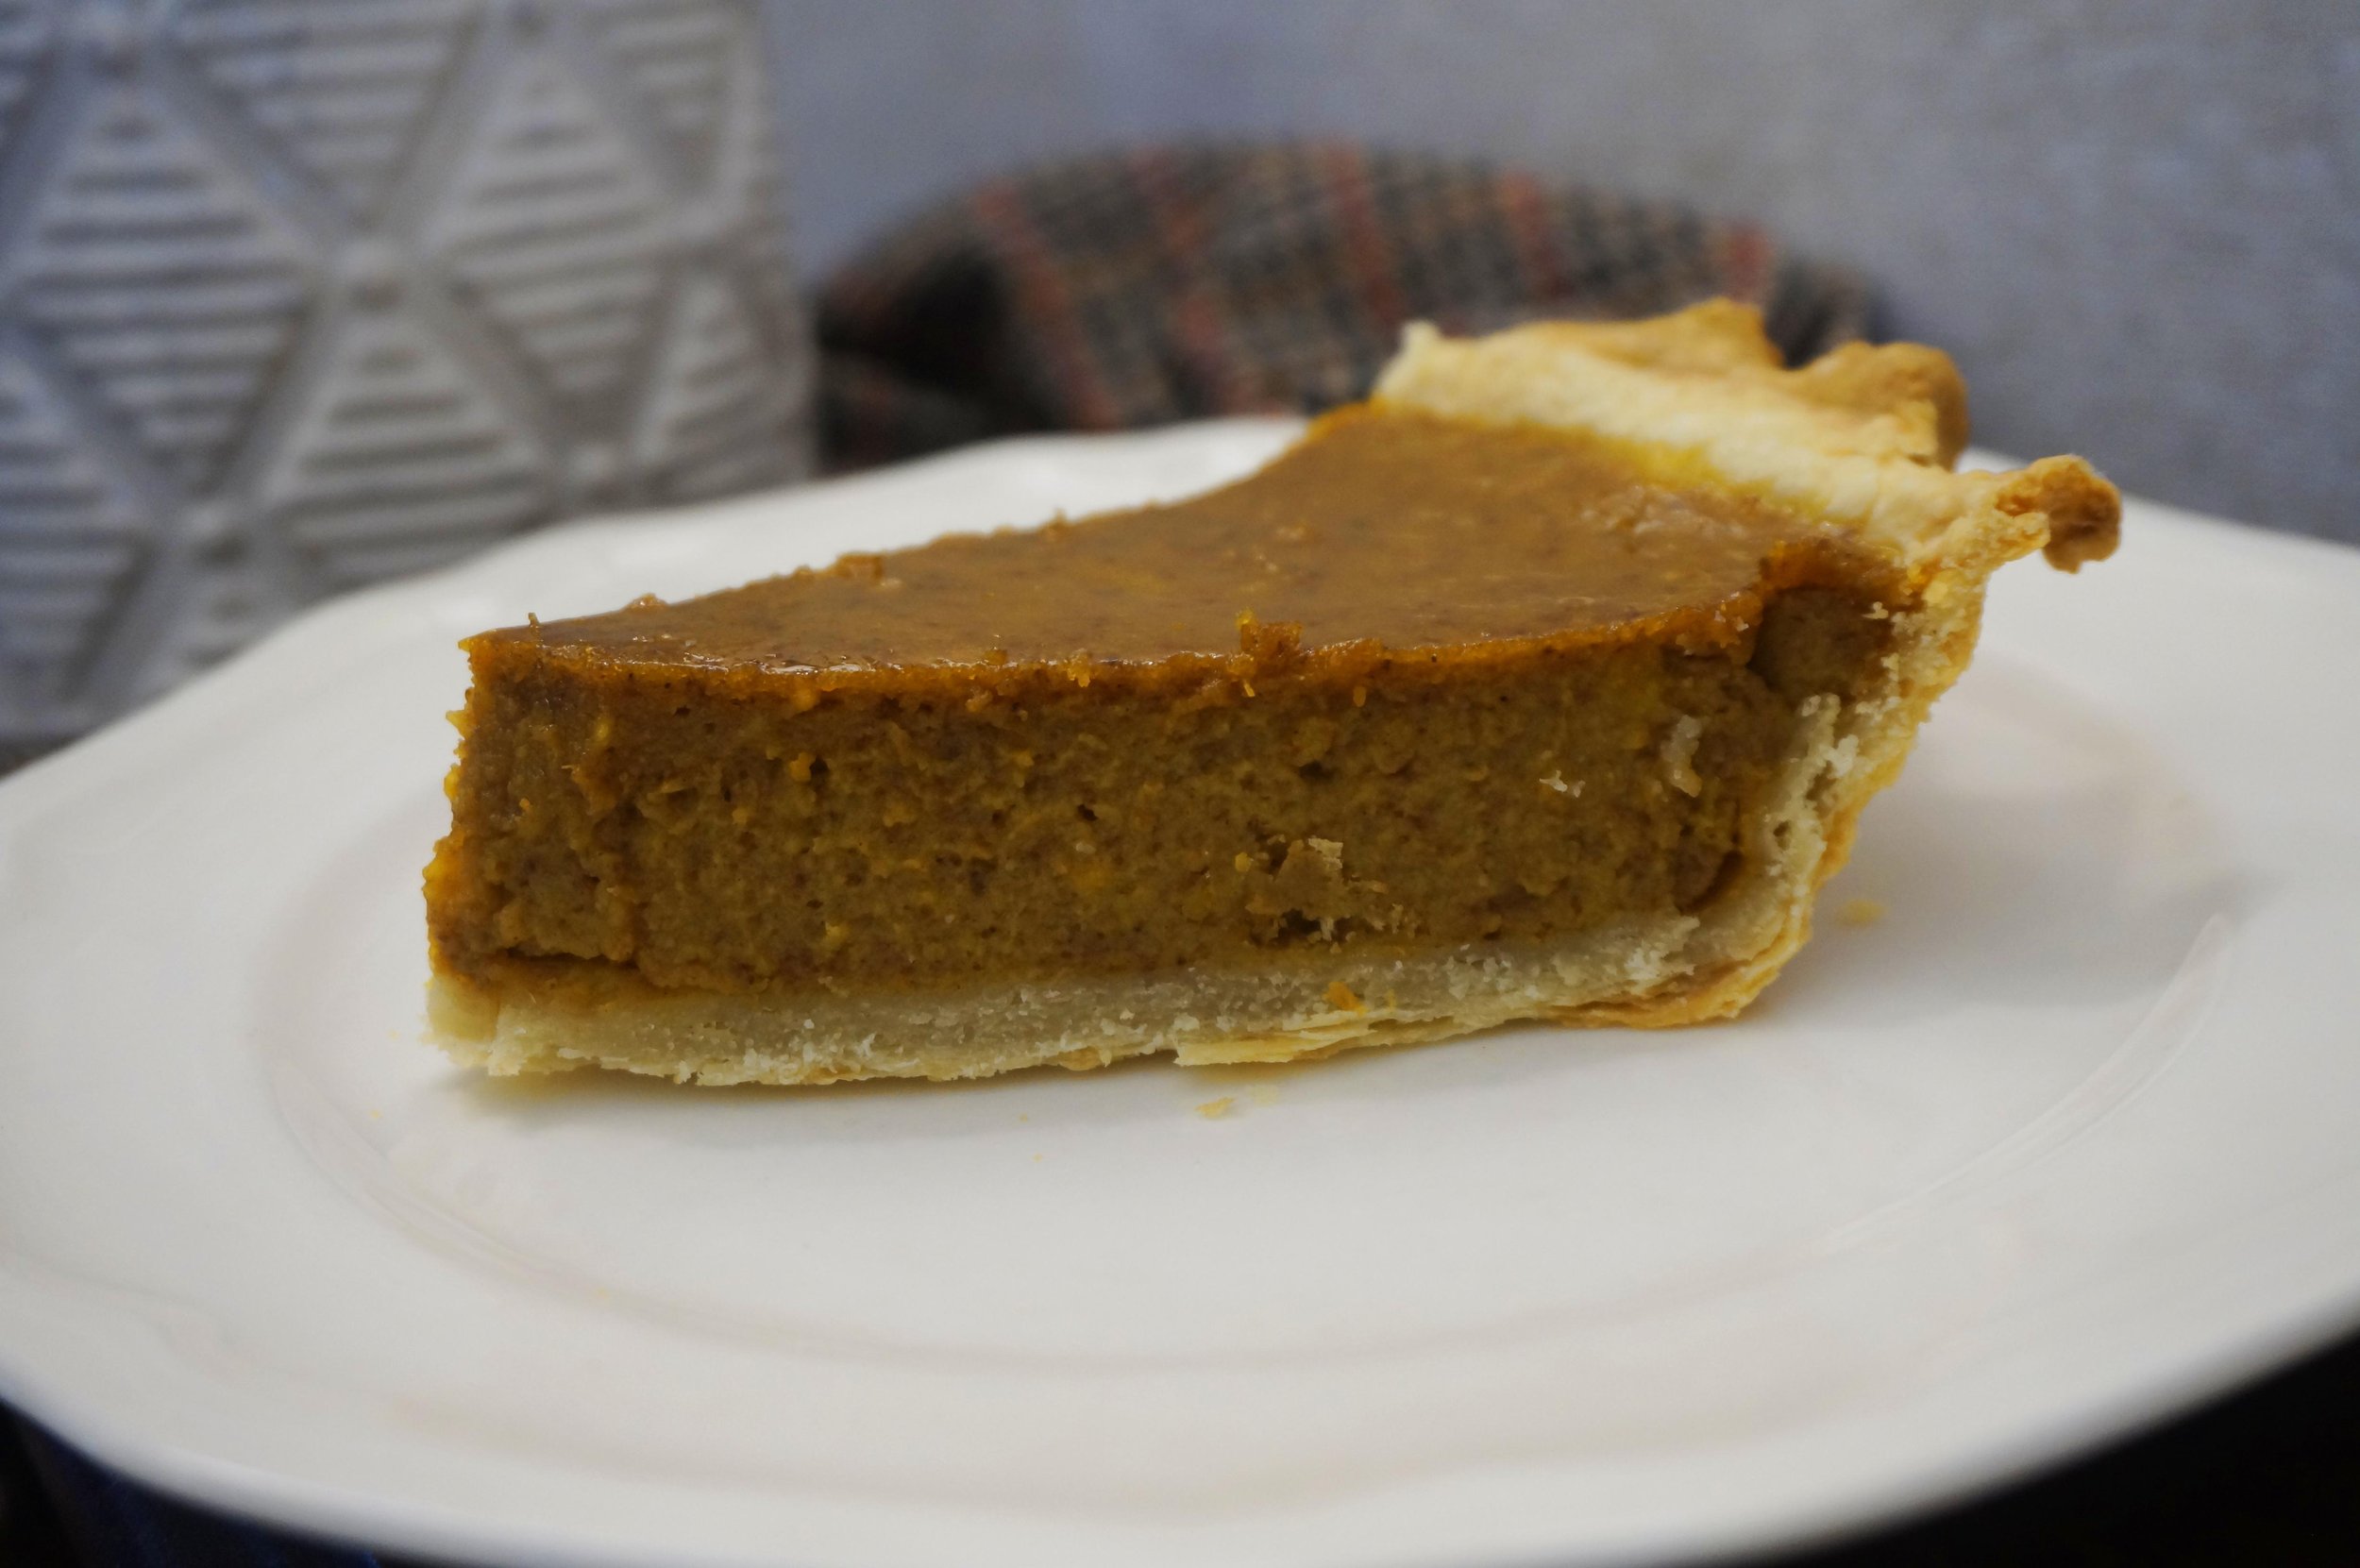
Nothing beats homemade pie.
Freeze butter before making the dough.
Add dry ingredients to food processor.
Cut chilled butter into tablespoon (or so) sized pieces and add to food processor.
On low speed combine butter and dry ingredients until butter is cut to the size indicated in the recipe.
Add wet ingredients and combine on low speed until it comes together into one large body.
Assess the dough to see if it is too wet or dry and adjust accordingly.
Proceed with recipe or refrigerate.
Another wonderful thing to mention about these pastry doughs is that you can prepare multiple types of doughs with minimal dishes. Pie crusts, biscuits, scones - make them one right after the other. They all do well in the fridge and you can even freeze the pie crusts.
Cooking From Scratch is a Skill.
Cooking from scratch is a skill in and of itself. With solid tools and staple ingredients, you open up a fun world of cooking that doesn’t seem near as daunting as before. Here’s to homemade!